
It happens every time someone prints a programme for an event. Twenty pages come out of the printer in perfect order — 1, 2, 3, all the way to 20 — you staple the corner, hand it out, and it feels wrong. Not broken, just flat. A stack of paper, not the folded little book you pictured.
A booklet is not just printed pages. It is pages arranged so that when you fold the sheets in half and staple the spine, everything lands in reading order. Your printer cannot guess that arrangement on its own — but the free Adobe Acrobat Reader can, with a single print setting most people never click.
The trick your printer can't do alone
Take an 8-page booklet. It uses two sheets of paper, printed on both sides — four page slots per sheet. Fold the sheets together and nest them, and the outside of the outer sheet has to carry the front cover and the back cover (pages 1 and 8) side by side. Flip that sheet over and you need pages 2 and 7. The inner sheet carries 3, 6 and 4, 5. This rearrangement — called imposition — is the entire difference between a booklet and a pile of printouts.
Nobody does this by hand any more. The software does it at print time: you hand it pages in normal reading order, and it works out which page goes on which side of which sheet. That is what the Booklet option is for.
The multiple-of-four rule
Every sheet in a booklet holds exactly four pages — two per side. So a booklet's page count must divide evenly by four. Twelve pages means three sheets, perfect. Ten pages does not divide, and something has to give.
Reader handles this gracefully: it pads the run with blank pages automatically to reach the next multiple of four, so a 10-page document becomes a 12-page booklet with two blank pages at the end. That works, but the blanks land wherever the signature needs them. Better to add your own padding first — a notes page, a back cover, an "intentionally left blank" page before the colophon — so you decide where the empty pages fall instead of discovering them after printing.
Step 1: Get the file booklet-ready
Three checks before you touch the print dialog. Each takes a minute, and each one prevents a reprint.
Check the page order. Flip through the PDF once. If anything is out of sequence — a scanned section in the wrong place, an appendix before the chapter it belongs to — fix it with PDFEdit's organise tool first. Imposition magnifies ordering mistakes: one swapped pair of pages ruins two spreads, not one page.
Fix the page count. Divide your page count by four. If there is a remainder, pad it to the next multiple yourself: make a one-page blank PDF (an empty Word or Google Docs document saved as PDF works), then merge it into the end of your file with the merge tool. Match the page size of the original so the blank doesn't print at an odd scale.
Strip the strays. Delete any blank or duplicate pages you don't want in the finished booklet with the delete-pages tool — fewer pages means less paper and a slimmer fold. And if your booklet should have printed page numbers, add them now with the page numbers tool, before printing, not after.
Step 2: Print it as a booklet (the free way)
Adobe Acrobat Reader is free on Windows and Mac, and its booklet feature is not paywalled. Open your PDF in Reader — not in your browser, not in Preview — and follow these steps:
- Choose File → Print (Ctrl+P on Windows, Cmd+P on Mac).
- Under Page Sizing & Handling, select Booklet. A preview appears showing how the pages land on each sheet — glance at it; if the spreads look wrong, something in your file needs fixing first.
- Set Booklet subset: choose Both sides if your printer prints on both sides automatically. If it doesn't, choose Front side only for now (more on the manual route below).
- Set Binding: Left for left-to-right documents like English; Right for right-to-left scripts like Arabic or Hebrew.
- Leave the Sheets from numbers alone — Reader works out how many sheets the job needs.
- Tick Auto-rotate pages so every page sits the right way up on its sheet.
- Choose your paper size in the printer properties (see below), then print.
One decision matters more than the rest: paper size. Booklet printing shrinks each page to fit two per side. If your pages are A4 and you print onto A4 paper, every page comes out at roughly half size — perfectly readable for text, small for detailed diagrams. Want full-size A4 pages? Print onto A3 and fold down. In the US, Letter pages want tabloid (11 × 17 in) paper for full size; printing onto Letter gives you a neat half-letter booklet that fits in a jacket pocket.
No automatic duplex? Print both sides by hand
Plenty of home printers only print one side at a time. The booklet still works — it just takes two passes:
- In the Booklet subset menu, choose Front side only and print.
- Take the stack and reload it for the second side. Reader shows instructions for how to reload the pages — usually flipped end over end, like turning a playing card. Follow your printer's diagram, not your instinct.
- Back in the print dialog, choose Back side only and print.
Run one test sheet before committing to fifty copies. A backwards second side is the classic booklet disaster, and it costs exactly one sheet of paper to rule it out.
On a Mac
macOS Preview cannot do booklet imposition — the option simply isn't in its print dialog, and there is no honest workaround inside it. Install the free Acrobat Reader for Mac and follow the steps above. It takes two minutes and saves an afternoon of manual page-shuffling.
Starting from Word instead of a PDF?
Word has its own booklet mode, and it is genuinely good. Go to the Layout tab, open the Page Setup dialog, switch to the Margins tab, and under Multiple pages choose Book fold. Word rearranges the document into printer's spreads itself, and handles the multiple-of-four padding the same way.
You can print straight from Word — or save as PDF first (File → Save As → PDF) and print the PDF from Reader. The PDF route is safer when someone else is doing the printing: what you see is exactly what they get, on any machine.
Fold it and staple it properly
The proper name for stapling along the fold is saddle-stitching, and the technique matters more than the name:
- Stack the printed sheets in order — they come out nested already, so don't shuffle them.
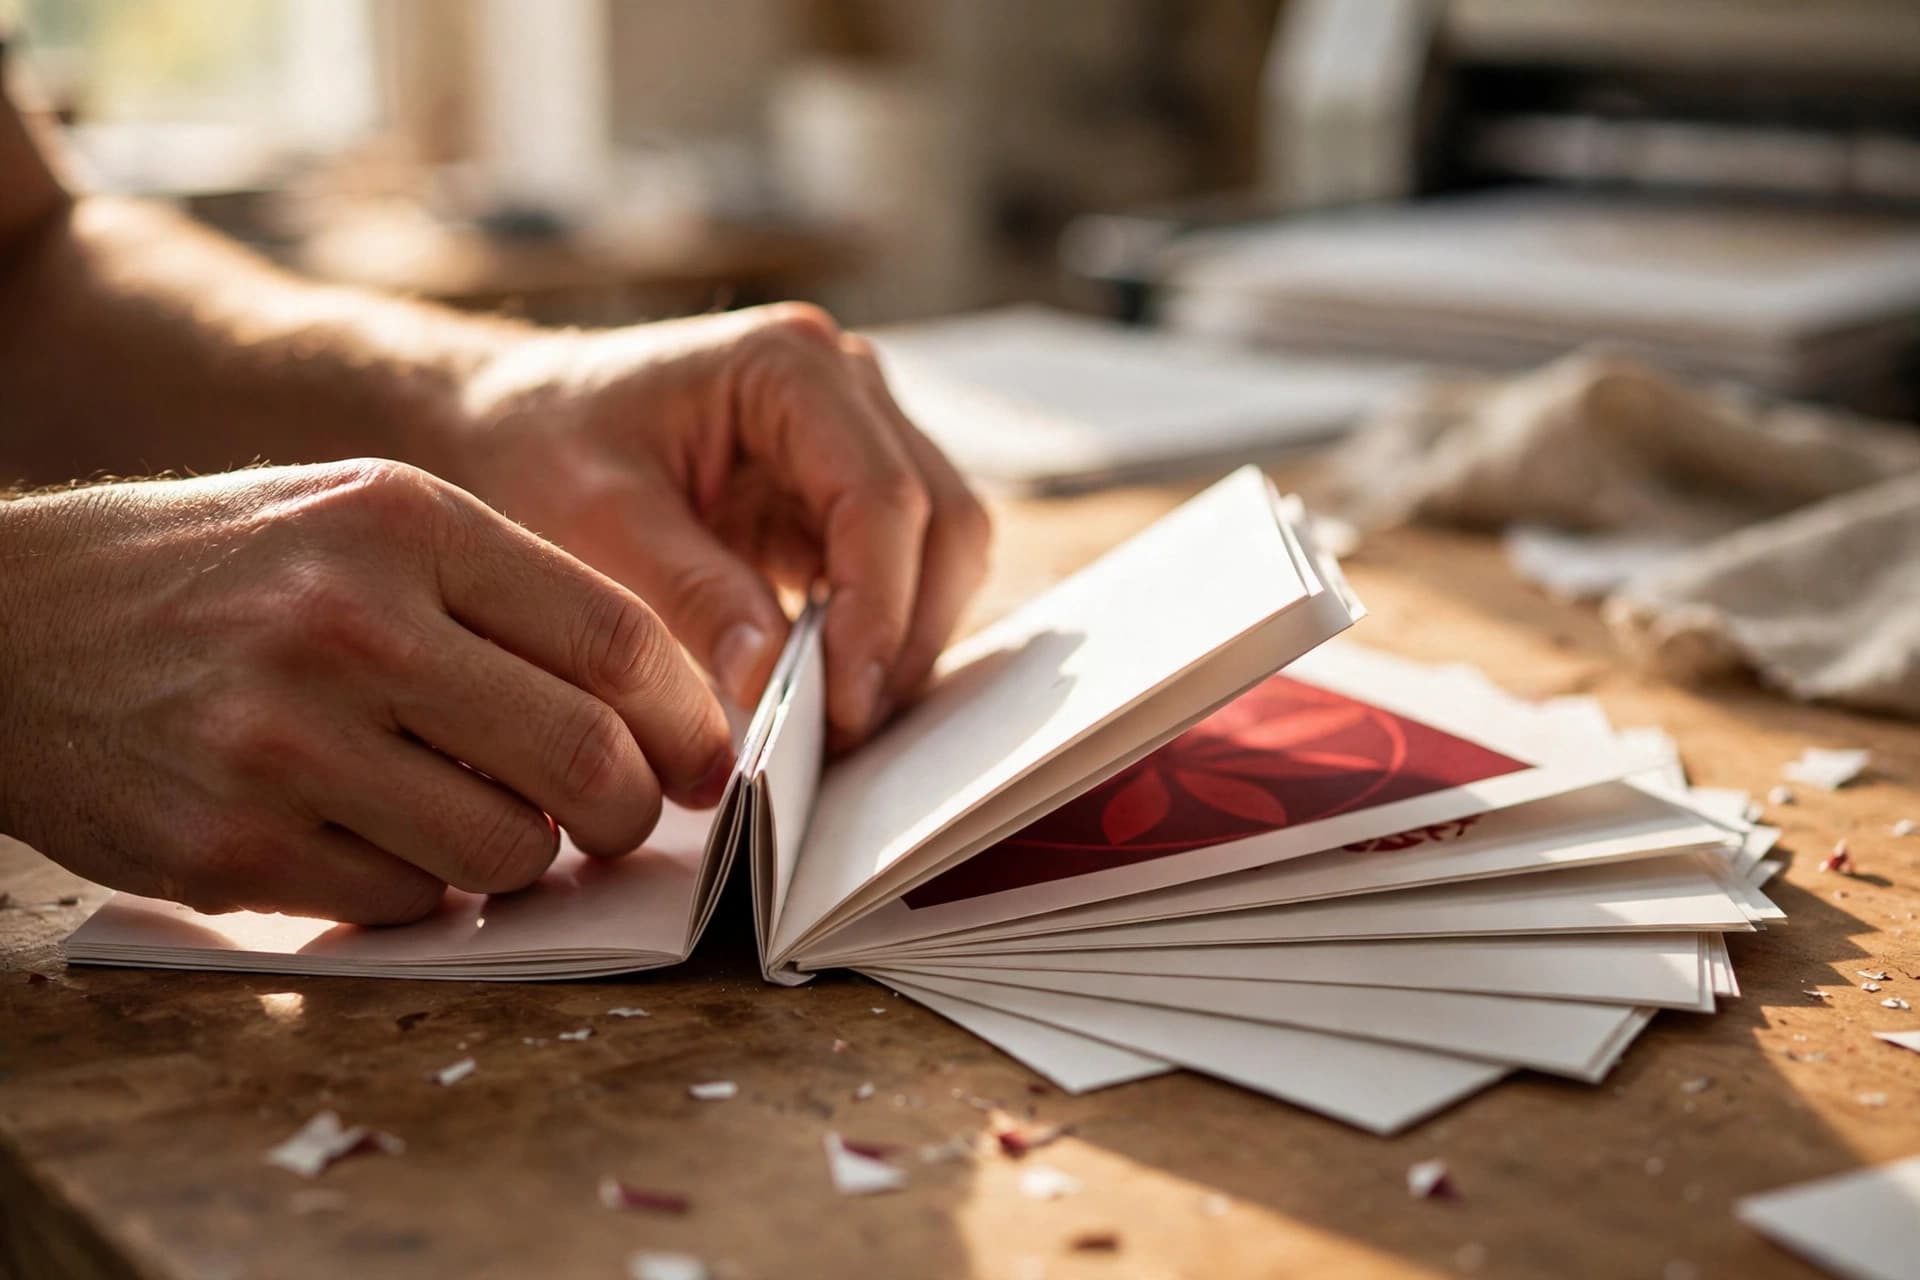
- Fold the whole stack in half along the middle. Measure rather than eyeballing it; an off-centre fold is visible on every page.
- Crease hard. Run a ruler edge or a bone folder along the fold — a firm crease is what makes the booklet sit flat instead of springing open.
- Staple twice along the spine, from the outside, so the staple legs end up on the inside of the booklet.
One practical catch: a standard desktop stapler cannot reach the middle of a folded A4 sheet. A long-reach (saddle) stapler can, and most copy shops will staple a folded stack for a small fee if you'd rather not buy one.
When to hand it to a print shop
Home booklets top out at slim documents. As the page count climbs, two things go wrong. First, creep: the inner sheets of a thick stack push out past the outer sheets at the fore-edge, so the folded booklet won't sit flat and the page edges look ragged. Second, the fold itself gets bulky and refuses to stay closed.
If your booklet is thick enough that the folded stack springs open, or you want trimmed edges and a proper spine, hand the PDF to a print shop. Ask for saddle-stitching for slim booklets and perfect binding for thick ones — and send them a print-ready file with embedded fonts and the correct page size. The shop will thank you, and the result will look it.
The five-minute checklist
- Page count divides by four — padded with your own blanks, not Reader's surprises
- Page order checked; strays deleted
- Page numbers added, if the booklet needs them
- Paper size chosen: twice the page size for full-size pages, same size for half-size
- Reader → Print → Booklet → Binding Left (or Right) → Auto-rotate on
- Duplex: Both sides — or Front-then-Back by hand, with a one-sheet test first
- Fold measured, creased hard, stapled twice from the outside
Twenty minutes, one free download, and the next programme you hand out feels like the real thing. Because it is.