
The short answer: to redact a PDF, you must delete the text from the file itself — not just hide it under black boxes. A proper redaction tool strips the characters, the hidden text layer, and the metadata, so nothing can be copied, searched, or recovered later.
The black-box mistake almost everyone makes
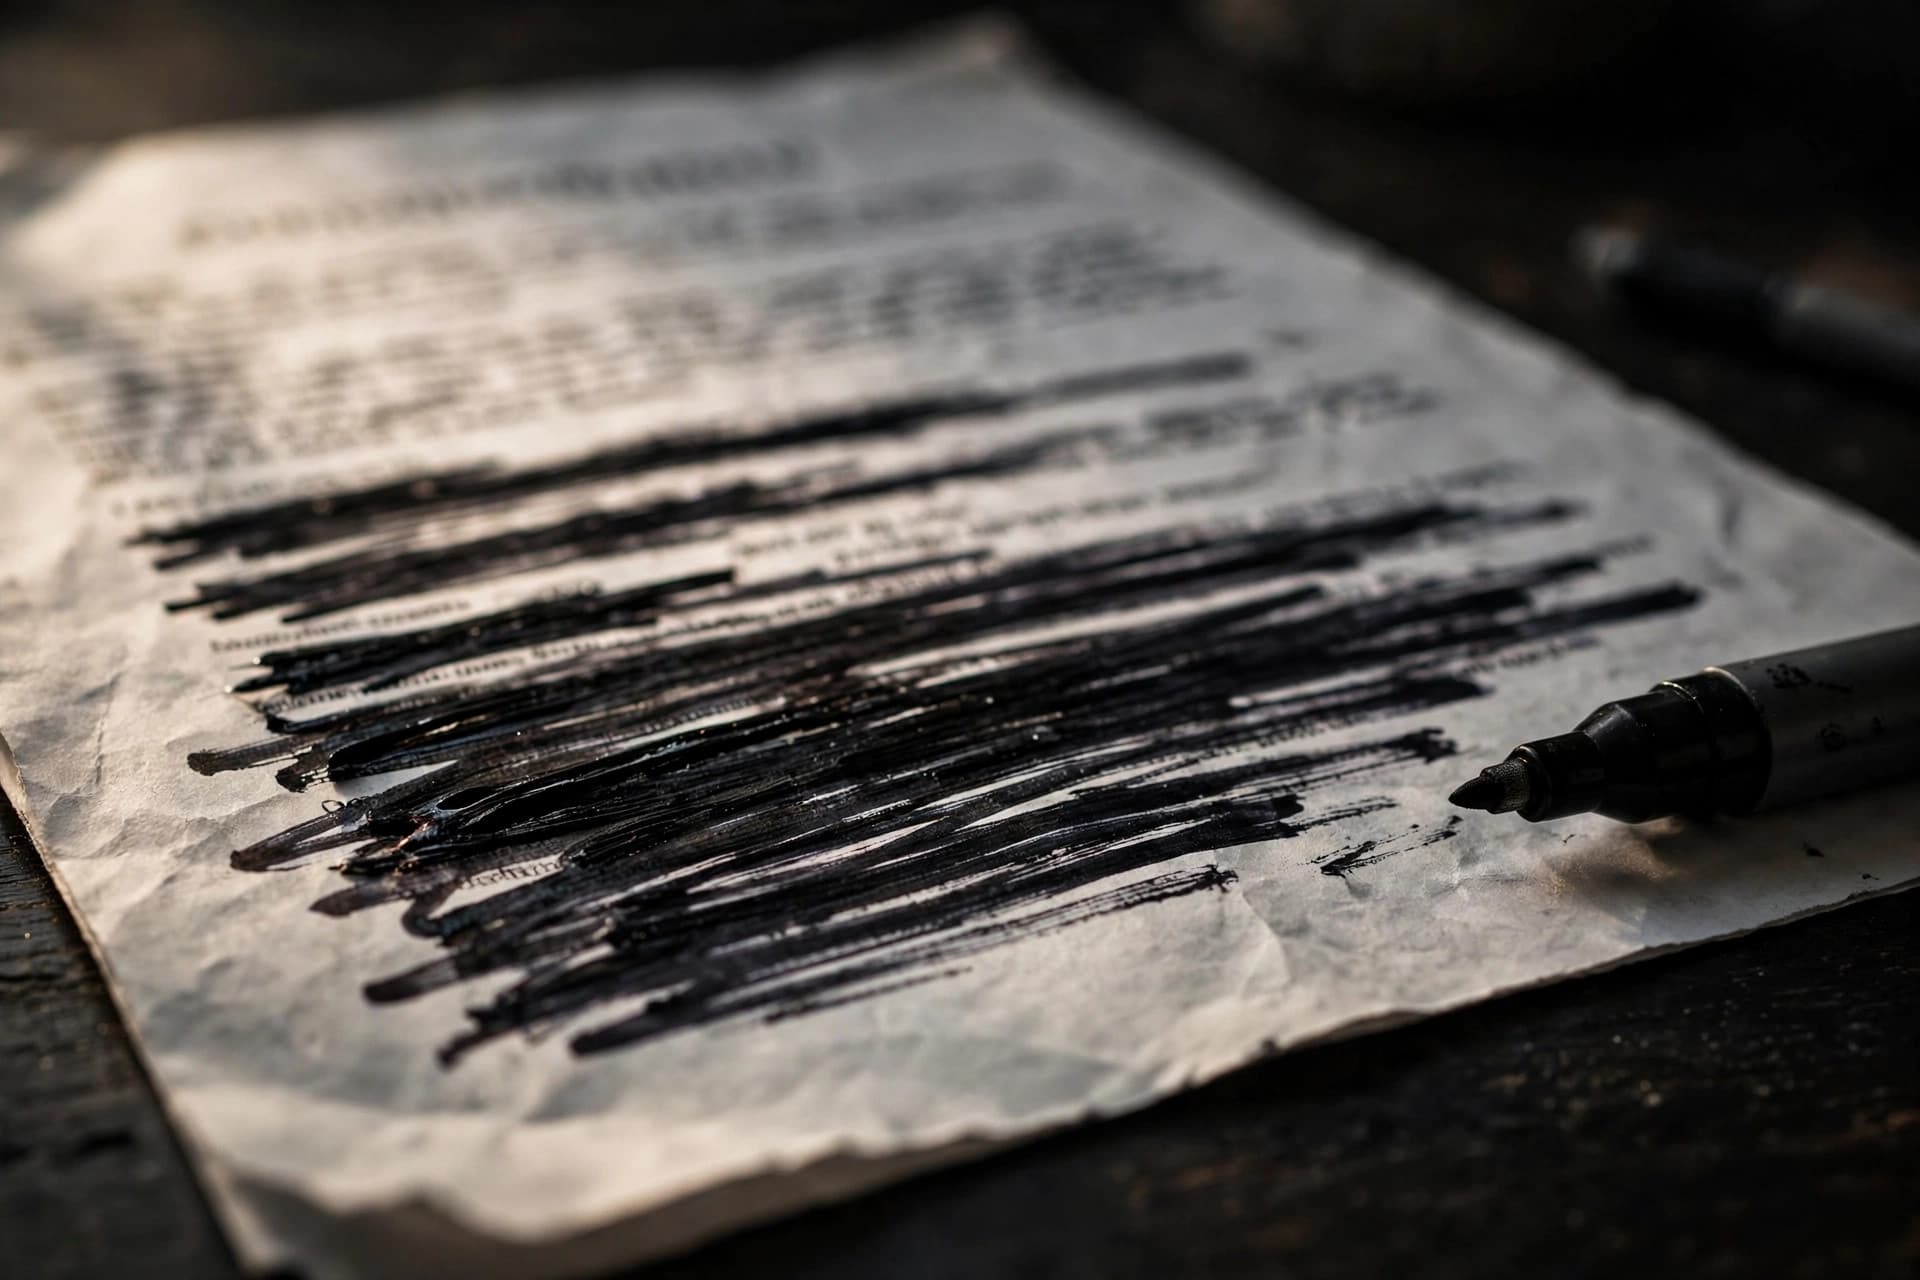
Try this on any suspiciously redacted PDF: drag your cursor across the black bars. In a depressing number of real documents — court filings, corporate leaks, government releases — the "hidden" text highlights and copies straight out. Drawing a black rectangle over words doesn't remove them. They're still sitting in the file, fully searchable, waiting for anyone who knows how to select text.
Highlighting text in black is no better. Same flaw, less effort to exploit. And the white-text-on-white-background trick? Select-all reveals everything instantly. None of these are redaction. They're decoration.
What real redaction actually removes
Genuine redaction does four things. It deletes the text characters from the page content. It removes the invisible OCR text layer that sits underneath scanned pages. It strips the sensitive strings from document metadata and annotations. And it burns the change into the file so no earlier version of the words lingers in the document's structure. Done right, the redacted words simply don't exist in the file anymore — there's nothing to recover because there's nothing left.
That's the standard to hold any redaction tool to. If a tool can't promise the underlying data is gone, it's a highlighter, not a redactor.
When redaction is the right call
Redaction is for the moments when part of a document must never reach the other party. Lawyers blank out client names and account numbers in discovery files. HR teams strip salaries and ID numbers before sharing reports. Freelancers remove bank details from invoices before posting portfolio samples. Landlords cut personal data from rental applications before forwarding them to owners.
The pattern is always the same: most of the document is fine to share, but a few specific pieces of information aren't. That's exactly what redaction is for — surgical removal, not locking the whole file.
How to redact a PDF properly, step by step
1. Work on a copy. Redaction is permanent. Save the original somewhere safe, then redact the copy. Name the copy clearly — contract-REDACTED.pdf beats contract-final-v2-REALLY.pdf when you're choosing an attachment in a hurry.
2. Open a real redaction tool. You need software that deletes content, not a drawing app. PDFEdit's redact tool is free, runs entirely in your browser, and needs no account. That last point matters more than it sounds: with a sensitive document, you don't want it uploaded to somebody's server.
3. Mark every instance, then search for stragglers. Black out each name, number, and address. Then use search (Ctrl+F) for every term you redacted — because the third occurrence buried on page nine is the one people miss. Eyeballing alone isn't enough; search is. One practical limit: PDFEdit's tool lets you place redaction boxes on the first 20 pages, which covers the vast majority of documents.
4. Handle the invisible layers. Scanned PDFs carry an OCR text layer under the image. Redact the visible words but leave that layer, and the "hidden" text stays perfectly extractable. Our OCR guide explains how that hidden layer works. Also check the document's properties (File > Properties in most readers) for author names, company info, and revision history that can give away what you're hiding.
5. Apply, download, and verify. Apply the redaction, download the new file, and run the 30-second test below before sharing it with anyone. Not after. Before.
The 30-second test that proves it worked
Open the redacted file and try to select and copy the blacked-out areas, then paste into a plain text editor. Then search the document for the exact words you removed. If either test turns up anything, the redaction failed — redo it before the file goes anywhere. This check takes half a minute, and it's the difference between actual redaction and an embarrassing leak. Make it a habit: no redacted file leaves your desk without passing both tests.
Mistakes that leak information
Redacting the scan but not the OCR layer. The words look gone but remain perfectly extractable underneath. If your PDF came from a scanner, the hidden text layer is the first thing to verify.
Missing one occurrence. A contract mentions the client twelve times; you black out eleven. The twelfth one is the leak. Search beats scrolling, every single time.
Leaving clues in metadata. Author name, company, "created by" fields, and tracked changes inherited from the Word file the PDF was exported from can all betray information you thought you'd removed. Check the properties.
Sharing the wrong file. After all that careful work, double-check the attachment. The number of leaks caused by attaching original.pdf instead of original-REDACTED.pdf is higher than anyone in the industry likes to admit.
Redacting images halfway. Signatures and photos in scanned documents need their pixels permanently covered and the file flattened — a movable annotation sitting on top of a signature can be deleted by anyone with an editor. Burn it in, flatten, then try to move the black box yourself to confirm it's permanent.
Redaction vs. password protection
These solve different problems, and mixing them up is common. Redaction removes information permanently — the recipient can never see it, password or not. Password protection just locks the door; anyone with the password sees everything inside.
The rule of thumb is simple: if a name or number should never reach the other party, redact it. If the whole document is fine but the audience should be limited, password-protect it. For genuinely sensitive files, do both — redact what's secret, then lock what's left. PDFEdit keeps the two tools separate for exactly this reason: they're different jobs, and each deserves to be done properly.